Preparing your artwork correctly is one of the easiest ways to ensure your custom apparel looks clean, sharp, and professional. When files arrive in the right format and at the right resolution, the printing process becomes faster, smoother, and far more predictable. At The Logo Store, we guide customers through these steps every day so they can avoid delays, reprints, and unexpected design issues.
This guide walks you through the essential requirements for print-ready artwork—from file types to color settings—so your order moves forward without any surprises.
Why Print-Ready Artwork Matters
High-quality printing begins long before your design touches a shirt or hat. It starts with the file itself. Clean edges, accurate colors, and correct sizing all depend on how your artwork is prepared.
When artwork meets professional standards:
-
Colors print correctly and stay true to your brand.
-
Lines and shapes appear crisp instead of pixelated.
-
Your order moves through proofing and production faster.
-
You avoid extra fees from file correction or redesign.
Good preparation is not about being a designer—it’s about understanding a few simple rules that help your design translate perfectly to fabric.
Best File Types for Custom Apparel
Not all file formats are equal. Some produce sharp, scalable results, while others limit quality and flexibility. Below are the formats our team recommends depending on your project.
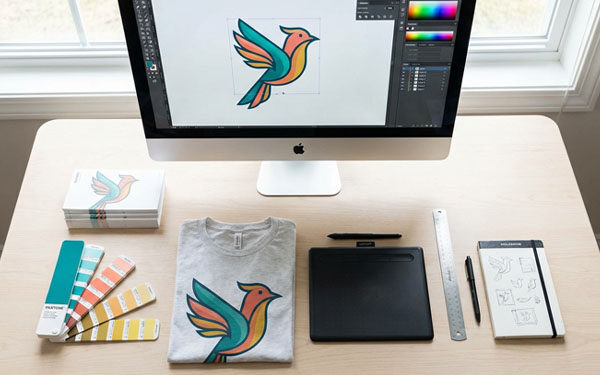
1. Vector Files (Best Choice)
Vector artwork is ideal because it can scale to any size without losing clarity. If your design includes text, logos, or simple shapes, this is the format we recommend.
Accepted vector formats:
-
AI (Adobe Illustrator)
-
EPS
-
SVG
-
PDF (vector-based only)
Vectors ensure crisp lines and smooth edges, making them the top choice for screen printing, embroidery, and large-scale apparel designs.
2. High-Resolution Raster Files
Raster files use pixels rather than paths, so they must be high resolution to print cleanly.
Accepted raster formats:
-
PNG
-
JPG/JPEG
-
PSD (Adobe Photoshop)
-
TIFF
If your artwork includes gradients, photos, or detailed textures, these formats work well—as long as the resolution is correct.
Resolution Requirements (Avoid Pixelation!)
Resolution determines how sharp your image will appear when printed. For apparel printing, low resolution will always result in soft or blurry edges.
✔ Minimum Resolution: 300 DPI at final print size
This means your artwork must be created or exported at 300 dots per inch at the exact size it will print on the shirt or product.
Common mistakes to avoid:
-
Stretching a small image larger than its original size
-
Using screenshots
-
Sending web graphics (72 DPI)
-
Exporting from Canva at too low of a resolution
If you are unsure whether your file meets the DPI requirement, our team can verify it before printing.
Color Mode: RGB vs. CMYK
Choosing the correct color mode helps your printed design visually match your screen.
RGB (for digital screens)
Your monitor displays colors in RGB. If you design in RGB, some colors may print slightly differently.
CMYK (for printing)
We recommend designing or exporting your file in CMYK, which is the color mode used in most professional printing processes. It gives you a more accurate preview of the final result.
If your project uses screen printing with specific ink colors, our team can also help match Pantone (PMS) colors to your brand guidelines.
Preparing Artwork for Screen Printing
Screen printing uses layers of ink, so artwork must be separated and prepared correctly.
Tips for print-ready screen printing files:
-
Use solid colors whenever possible
-
Avoid unnecessary effects (glows, drop shadows, textures)
-
Convert fonts to outlines/curves before submitting
-
Keep lines at least 1 pt thick to avoid ink spread
-
Use vector files whenever possible
If your artwork includes gradients or fading effects, let our team know so we can ensure the best results.
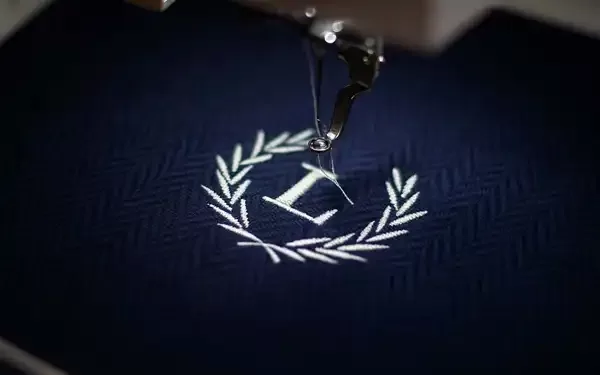
Preparing Artwork for Embroidery
Embroidery requires a different setup, since the design becomes thread rather than ink.
✔ Ideal designs for embroidery:
-
Text
-
Badges and patches
-
Simple logos
-
Bold shapes
Avoid:
-
Thin lines
-
Small text
-
Photographic images
-
Complex textures
For the highest quality embroidery, we recommend vector files or high-resolution PNGs with transparent backgrounds.
Sizing Your Artwork Correctly
Before sending your files, decide how large your design will appear on the garment.
Common print sizes include:
-
Left chest: 3″–4″ wide
-
Full front: 10″–12″ wide
-
Full back: 11″–14″ wide
-
Sleeve print: 2″–3″ wide
If you’re unsure, our team can review your design and help recommend the best size for the garment and printing method.
Convert Text to Outlines
If your artwork uses custom fonts, it’s important to convert your text to outlines. This ensures the text prints exactly as you intended—even if we do not have the font installed.
Most design programs include this feature under:
-
Type → Create Outlines (Illustrator)
-
Convert to Shape (Photoshop)
This simple step prevents unwanted font substitutions.
Add Bleed When Necessary
If your artwork extends to the edge of a print area or is intended for full-coverage designs, include extra “bleed” beyond the trim line. Bleed helps ensure clean edges after trimming or placement adjustments.
A standard bleed is 1/8 inch (0.125″), but larger designs may require more.
Common Artwork Mistakes to Avoid
Here are issues we regularly see that cause delays:
-
Final files exported at the wrong size
-
Using low-resolution images downloaded from the web
-
Missing or unconverted fonts
-
RGB color profiles instead of CMYK
-
Sending flattened screenshots of artwork
-
Designs that include copyright-protected elements
By avoiding these mistakes, you help speed up production and improve print quality.
Where You Can Learn More About File Best Practices
For more information on professional print standards, the Adobe Help Center offers great tutorials on file preparation and exporting.
External reference: https://helpx.adobe.com (high-authority resource)
How The Logo Store Helps You Get It Right
At The Logo Store, we review every file before printing to ensure your artwork meets production standards. If changes are needed, our design team can offer quick adjustments or complete file rebuilds when necessary.
You can also explore our services to help prepare or update your artwork:
-
Screen Printing Services
https://logostore.org/custom-print-services/screen-printing-shop-services/ -
Embroidery Services
https://logostore.org/embroidery-services/ -
Custom Apparel & Products
https://logostore.org/custom-apparel-brands/
Clear, print-ready artwork saves time, reduces errors, and ensures your apparel looks exactly as you envisioned.