How to Design a Custom T-Shirt From Scratch (Even If You’re Not a Designer)
Learning how to design a custom t-shirt is easier than most people expect. You do not need professional design skills or expensive software to create something that looks great on a shirt. You need a clear idea, the right tools, and a basic understanding of what your print shop needs to bring it to life. This guide walks you through every step, from your first idea to a print-ready file.
The Short Answer: You do not need professional design skills to create a great custom t-shirt. Start with a clear purpose, choose your text, graphics, and colors, then use a free tool like Canva or Adobe Express to build your design. Save it as a high-resolution PNG at 300 DPI or a vector file in AI, EPS, or PDF format. Submit your file to your print shop, approve the digital proof, and your shirt goes into production.
Browse our custom shirt printing options, request a quote, or call (512) 505-8078.
Step 1: Start With a Clear Purpose
Before you open any design tool, get clear on what the shirt is for. The purpose shapes every decision that follows, from the colors you choose to the words you put on it. A shirt for a company event communicates differently than a shirt for a youth sports team or a family reunion.
Ask yourself a few questions before you start:
- Who is wearing this shirt?
- Where will they wear it?
- What do I want people to think or feel when they see it?
- Does this shirt need to include a logo, a slogan, a date, or all three?
Writing down the answers to these questions gives you a creative brief. That brief keeps your design decisions focused and makes the whole process faster.
Step 2: Choose Your Design Elements
A great custom t-shirt design usually has three elements working together: text, graphics, and color. You do not need all three, but knowing how each one works helps you make better choices.
Text
Text is the most common element on custom shirts. Keep it short and readable. Long paragraphs do not work on apparel. A company name, a slogan, a year, or a single phrase prints clearly and reads well at a distance. Choose fonts that are bold and simple. Thin, decorative, or script fonts can look great on a screen but often lose detail when printed, especially at smaller sizes.
Graphics
A graphic or logo adds visual impact. Simple, bold graphics with clean edges print better than complex illustrations with lots of fine detail. If you are using a logo, make sure it is a high-quality file. Blurry or low-resolution logos produce blurry prints. We will cover file types in a moment.
Color
Color choice affects both the look of your shirt and the cost of printing, depending on the method. For screen printing, each color in your design requires its own screen and adds to your setup cost. Keeping your design to one, two, or three colors is a smart way to control costs while still creating a sharp, professional result. For direct-to-garment printing, color count does not affect price the same way, so full-color designs are more accessible for small orders.
Step 3: Pick the Right Design Tool
You do not need Adobe Illustrator to design a custom t-shirt. Several free and low-cost tools make it easy for non-designers to create something print-ready.
- Canva: The easiest option for beginners. Drag-and-drop interface, tons of fonts and graphics, and t-shirt templates built in. Free to use with optional paid elements.
- Adobe Express: Similar to Canva with strong font and template options. Good for clean, simple designs.
- Adobe Illustrator: The industry standard for professional design. Produces vector files that scale to any size without losing quality. Best option if you have design experience or are working with a designer.
- Google Slides or PowerPoint: Not ideal, but usable for simple text-based designs. Export as a high-resolution image if you go this route.
According to 4imprint, a custom printing company with over 40 years of experience, Canva and Adobe Express are excellent starting points for non-designers because they let you export layered, high-resolution files that work well with most print methods.
Step 4: Understand Print-Ready File Formats
This is the step most first-time buyers skip, and it causes the most problems. Your print shop needs your artwork in a specific format to produce a clean, sharp result. Sending the wrong file type leads to blurry prints, color issues, or production delays.
Here is what you need to know:
- Vector files (AI, EPS, PDF, SVG): The best option for any design with text or logos. Vector files scale to any size without losing quality. If you have access to Adobe Illustrator, save your file as an AI or PDF.
- PNG at 300 DPI: If you cannot produce a vector file, a high-resolution PNG with a transparent background is the next best option. The key word is 300 DPI. Files saved for web use are typically 72 DPI, which is far too low for print.
- JPG: Acceptable for photo-based designs, but JPG files do not support transparent backgrounds. Use PNG instead when possible.
The single most important rule is resolution. A design that looks sharp on your phone screen can print blurry if the file resolution is too low. When in doubt, go bigger. A file that is too large can always be scaled down. A file that is too small cannot be fixed without losing quality.
Step 5: Think About Placement and Size
Where your design sits on the shirt and how large it prints makes a big difference in how it looks on the finished garment. Most designs land in one of four standard placements:
- Full front chest: The most common placement. Works for logos, graphics, and text. Typically prints around 12 inches wide.
- Left chest: A smaller, more professional placement. Common for company polos and uniforms. Typically prints around 3 to 4 inches wide.
- Full back: Great for event shirts, team names, and roster lists. Typically prints up to 12 inches wide.
- Sleeve: A popular accent placement. Works well for small logos, dates, or short text.
Adding more than one print location increases your cost, so choose your placement based on what your design needs to communicate, not just what looks cool on a mockup.
Step 6: Choose the Right Shirt and Print Method
The garment you print on affects how your design looks just as much as the design itself. Dark shirts require different ink layering than light shirts. Poly-blend fabrics print differently than 100% cotton. Soft, lightweight shirts feel different than standard mid-weight blanks.
At The Logo Store, our custom shirt printing in Austin covers over 100 apparel brands across every style, weight, and fabric type. Our team helps you choose the right blank for your design and your audience before production begins.
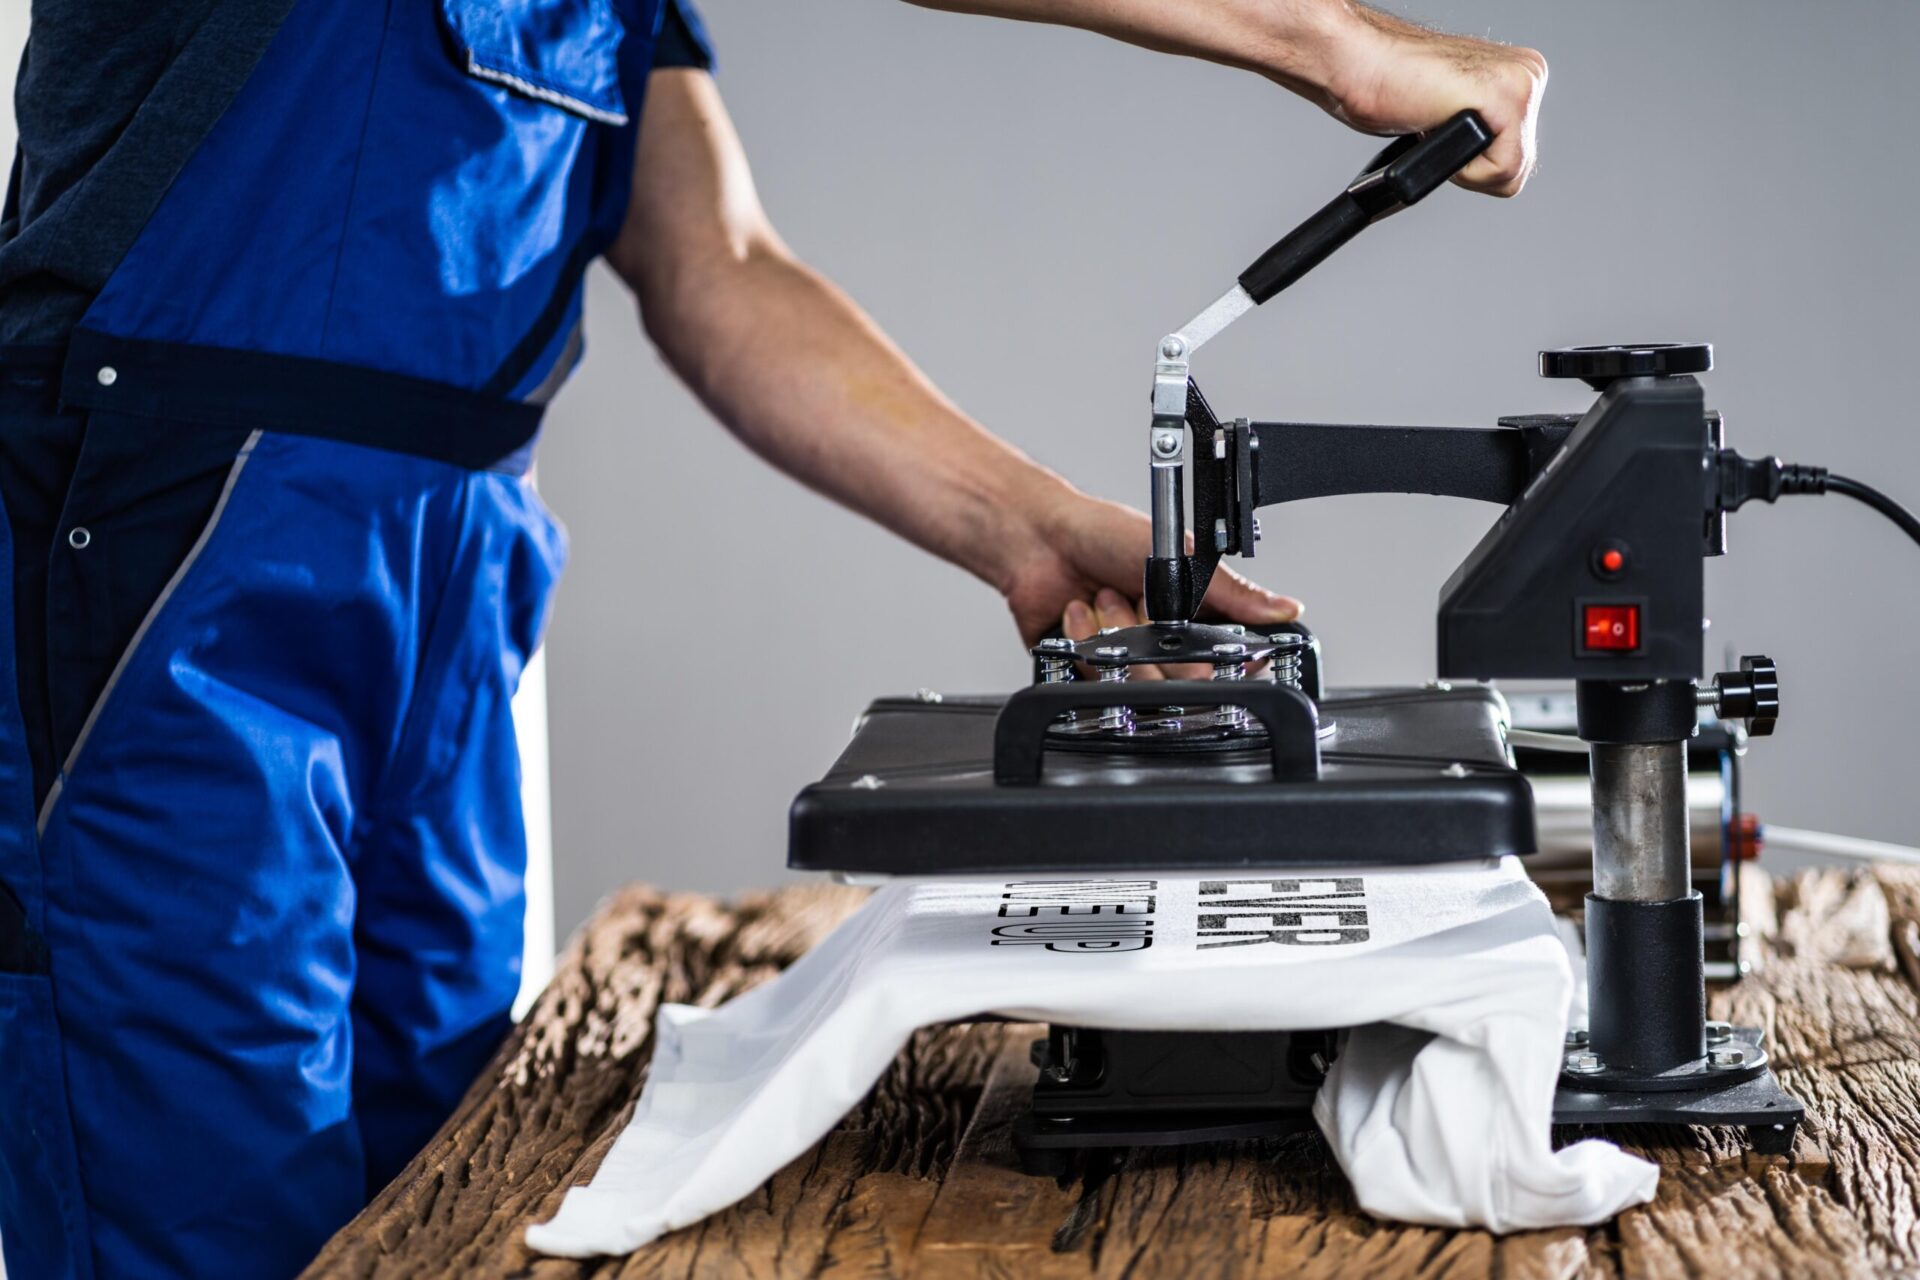
Print method also matters. Screen printing works best for bold designs with one to four colors on orders of 12 or more shirts. Direct-to-garment printing handles full-color and photo-realistic designs with no minimum order. Heat press works well for names, numbers, and simple graphics on small quantities. Our team will recommend the right method based on your design, quantity, and budget when you request a quote.
Step 7: Get a Proof Before You Print
Always ask for a digital proof before your order goes into production. A proof shows you exactly how your design will look on the shirt, including placement, size, and colors. This is your last chance to catch any issues before ink hits fabric.
Review the proof carefully. Check that text is spelled correctly, that the design is centered where you want it, and that the colors look right. Once you approve the proof, production begins and changes become difficult or impossible to make.
At The Logo Store, every order includes a digital proof for your approval before we start printing. We do not begin production until you sign off.
Ready to print your custom t-shirt design in Austin?
The Logo Store works with your artwork from any stage. Whether you have a finished file or just an idea, our team helps you get from concept to finished shirt.
Phone: (512) 505-8078 · Request a Quote
Related reading: How Much Does Custom Screen Printing Cost in Austin, TX? · What Is DTG Printing and When Should You Use It?
Ready to Bring Your Design to Life?
The Logo Store has helped businesses, schools, sports teams, and event organizers across Austin and San Antonio design and print custom shirts since 2016. Whether you have a finished file ready to print or just an idea in your head, our team is ready to help you get from concept to finished shirt.
Request a free quote today and our team will guide you through garment selection, design review, and print method so your order comes out exactly right.