
Browse our custom shirt printing options, request a quote, or call (512) 505-8078.
How many custom shirts should I order for an event? The honest formula is your final headcount plus 10 to 15 percent, distributed across the right sizing curve. Get either piece wrong and you either run out of mediums on day one or end up with a box of 2XLs in storage for the next two years. This guide walks through the math, the sizing breakdown, and the event-specific adjustments that keep your order on target.
According to Wikipedia’s overview of U.S. standard clothing size, adult body measurements in the United States follow a roughly bell-shaped distribution centered on medium and large. That bell curve is what drives the size breakdown every custom apparel shop recommends, and it explains why ordering equal quantities of every size is the most common (and expensive) mistake event planners make.
How Many Custom Shirts Should I Order? Start with Headcount Plus Buffer
The first number is your confirmed attendance, registration count, or team roster. The second is your buffer for everyone who shows up that you did not count.
- Confirmed attendees: Whatever number your event registration, RSVP, or team roster gives you.
- Staff and volunteers: Add one shirt per staff member or volunteer. These are often forgotten until the day of the event.
- Walk-ups and late additions: Add 10 to 15 percent on top of your confirmed count to absorb last-minute attendees, registration spikes, and the friends people bring along.
- VIP or speaker gifts: Add five to ten extra if you plan to gift shirts to special guests, sponsors, or board members.
For a 200-person event with 10 staff and a 12 percent buffer, the math runs 200 + 10 + 25, which lands at 235 shirts. That is the working number you build your sizing curve around, not the original headcount.
The Sizing Distribution You Need to Plan Around
Unisex adult t-shirt sales follow a fairly consistent distribution across the U.S. The breakdown below comes from years of industry order data and is the safest starting point for most general audiences.
- Small: 10 percent of the order
- Medium: 25 percent
- Large: 30 percent
- X-Large: 25 percent
- 2X-Large: 10 percent
For 100 shirts, that breaks out to 10 small, 25 medium, 30 large, 25 XL, and 10 2XL. Scale the numbers up or down for your actual order. Need 300 shirts? Multiply each number by three. The shape of the curve stays the same.
A few extras worth knowing. Add a handful of XS and 3XL when your group is large enough that outliers are statistically likely. For orders over 200 shirts, include two to four XS and four to six 3XL. Skip these on smaller orders unless you know specific recipients who need them.
Quantity Formulas for Common Event Types
Different event types call for different ratios. Apply the formula that matches your situation instead of assuming one size of math fits everything.
- Race or marathon shirts: One shirt per registered participant, plus 10 percent for staff and volunteers, plus 5 percent for walk-ups. Sizing skews smaller (smaller athletic builds), so add 5 percent to small and medium and reduce 2XL accordingly.
- Corporate conference or offsite: One shirt per attendee plus 10 percent for staff. Use the standard sizing curve unless your team skews unusually one direction.
- School or college events: One per student plus 15 percent for unannounced participants. Youth events should follow youth sizing, which lives on a separate distribution. For sorority events, skew toward smalls and mediums. For fraternity events, skew toward larges and XLs.
- Trade show booth giveaways: Plan for 30 to 50 percent of booth visitors to take a shirt. A booth with 500 expected daily visitors might need 150 to 250 shirts per day. Underorder small and 2XL since most takers grab their preferred size, which clusters at medium and large.
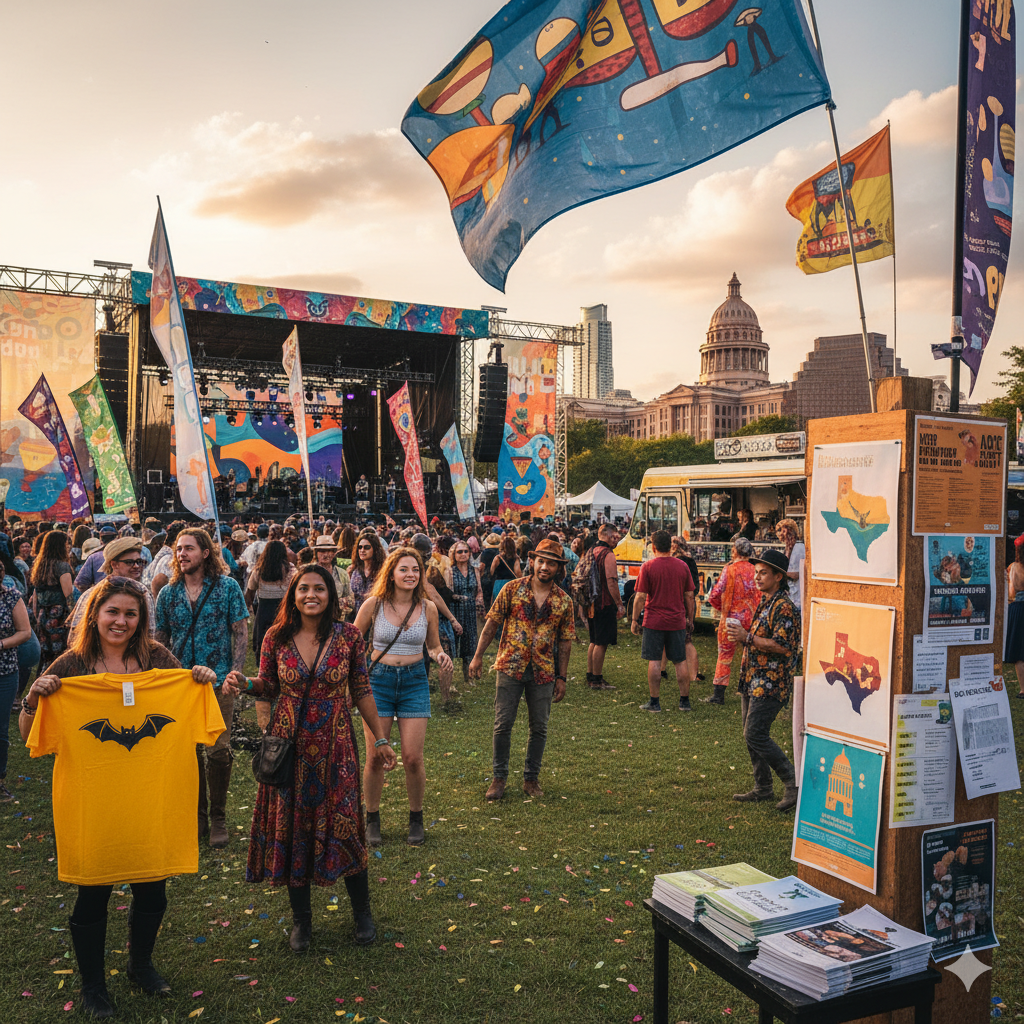
- Festival or community event: If shirts are giveaways, expect 30 to 60 percent take-up depending on quality and visibility. If shirts are sold at a merch booth, plan inventory at 5 to 10 percent of expected attendance with the standard sizing curve.
- Team or staff uniforms: Two shirts per team member at minimum, so workers have a backup while one is in the wash. Use confirmed individual sizes from each team member, not the curve.
- Family reunion or group trip: Get exact sizes from each adult. Do not estimate. Use the curve only for the kids if you must.
Our screen printing services handle the high-volume event end of these orders (100 plus shirts), while heat press printing covers smaller batches and full-color event designs where setup fees would otherwise eat your budget.
When to Order Extras (and When Not To)
Padding the order helps in some situations and wastes money in others. Use these rules to decide.
- Order extras when: the event has high walk-up traffic, your registration history shows late surges, you have committed sponsors who expect shirts, or your event repeats annually and you can use leftovers for next year’s promotional pool.
- Do not order extras when: the event is closed and ticketed (the headcount is the headcount), your budget is tight, or your design is event-dated in a way that makes leftovers unusable next year.
- Lean toward larger sizes if you cut corners: A wearer who needs a medium can squeeze into a large. A wearer who needs an XL cannot get into a large. When in doubt, size up.
Common Quantity Mistakes That Cost Money
Most of the bad math we see at Logo Store traces back to the same handful of mistakes. Avoid these and your order will land within five percent of your real need.
- Ordering equal quantities of every size. The classic “50 of each size” mistake leaves you stuck with smalls and out of larges by lunch. Use the curve.
- Forgetting staff and volunteers. Always add them on top of your attendee count, not within it.
- Underestimating walk-ups. Most events draw five to fifteen percent more than the confirmed RSVP count. Budget for it.
- Buying for invited count instead of likely attendance. If you invited 500 and historically 60 percent show up, plan around 300, not 500.
- Skipping the buffer on rush orders. Last-minute orders feel tight, which tempts you to cut the buffer. Resist. You cannot reprint mid-event.
- Mismatching shirt type to audience. Lightweight fashion tees fit smaller. Heavyweight workwear runs larger. Check the brand sizing chart before applying the curve.
A short conversation with a print shop before placing the order catches almost all of these. Our team reviews every event order against your headcount, your audience type, and your budget before quoting, so the math is right the first time.
The Logo Store handles custom event shirts for races, corporate offsites, school events, festivals, and brand activations across Central Texas since 2016. We help you size the order, pick the right brand and weight, and hit your event date without rush fees when you book ahead. No minimums, fast local turnaround, and local pickup included.
Phone: (512) 505-8078 · Request a Quote
Related services: Custom Shirt Printing · Screen Printing · Heat Press