
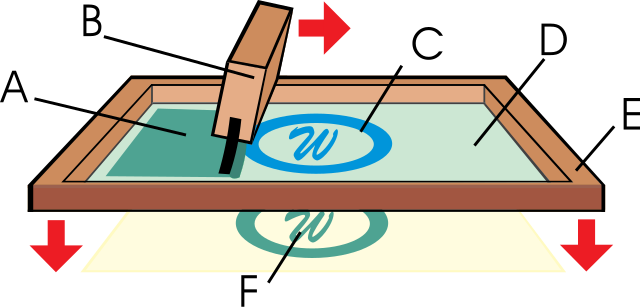
Screen printing is a method that pushes ink through a fine mesh screen to print a design onto a shirt, poster, or almost any surface. The open parts of the screen let ink through, and the blocked parts do not. That is what forms the design. It is a top choice for bold color and prints that hold up wash after wash.
The full name is silkscreen printing, because the first screens used silk. Most shops use polyester mesh today, but the idea has not changed. A screen is a wood or metal frame stretched with fine mesh that works like a stencil. Push ink across it, and the ink only reaches the open parts of your design.
The method is old. It started in China around the 10th century, spread across Asia, and reached Europe in the 1700s once silk mesh was easy to trade. Artists brought it back into style in the 20th century, and it has stayed a shop favorite ever since.
What Can You Screen Print On?
A lot of surfaces. That range is why the method is so common for both business and creative work.
Clothing is the most popular use. T-shirts, hoodies, jeans, sweatpants, and shorts all take screen printing well. It does not stop at apparel, though.
Screen printing also works on canvas, paper, wood, wool, and many fabrics. With the right ink, it works on glass, plastic, and metal too. That is why you see it on posters, promo products, artwork, and custom gear.
The Screen Printing Process, Step by Step
Step 1: Create the Design
Everything starts with the artwork. Most designs are built in graphic design software. The finished art is then printed onto clear film. Some artists skip the computer and draw straight onto the film by hand. Either way, the art needs clean lines and strong contrast so it transfers well.
Step 2: Pick and Prep the Screen
Next comes the screen. The key choice is mesh count, which is the number of threads per inch. Fine detail, small text, and halftones need a higher mesh count. Bold graphics and thick ink work on a lower one.
The screen then gets a coat of emulsion. Emulsion is a light-sensitive liquid that hardens under bright light. It forms the stencil. A printer spreads a thin, even layer on both sides of the mesh with a tool called a scoop coater, then lets it dry in a dark room.
Step 3: Expose the Emulsion
The design film goes on top of the dry, coated screen. Then the screen meets a strong UV light. The light hardens the emulsion everywhere the design does not cover. The covered areas stay soft. Printers call this step “burning the screen,” and the timing has to be right for a clean stencil.
Step 4: Wash Out the Stencil
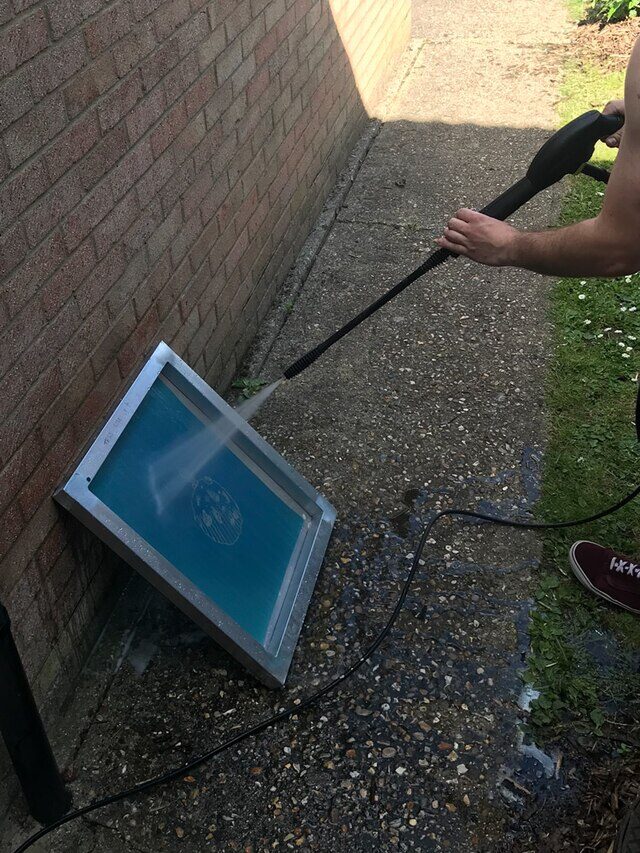
After exposure, the screen gets rinsed with water. The soft emulsion under the design washes away. The hardened emulsion stays. What is left is a clean stencil in the mesh, shaped exactly like your design. That open shape is what lets ink through in the right spots.
Step 5: Set Up for Print
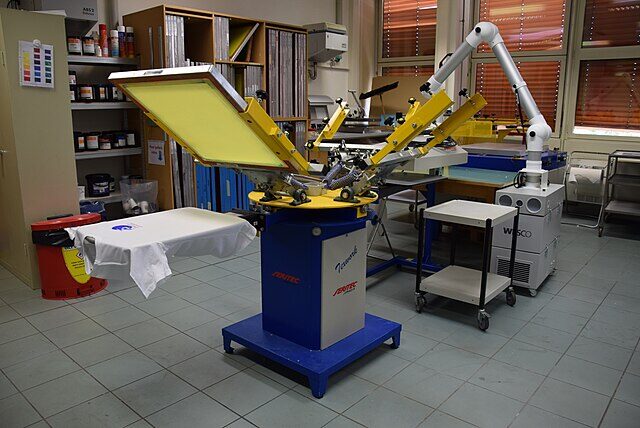
The screen gets clamped onto a press so it stays put. A steady screen means every print lines up with the last one. Shops use automated presses to control pressure and position across a big run.
Then the ink goes on. The two common types are plastisol and water-based. Plastisol is durable and bright. Water-based ink feels softer on the fabric. A pro shop gets cleaner, more consistent results than a home setup, which matters once you print more than a few pieces.
Step 6: Apply the Design
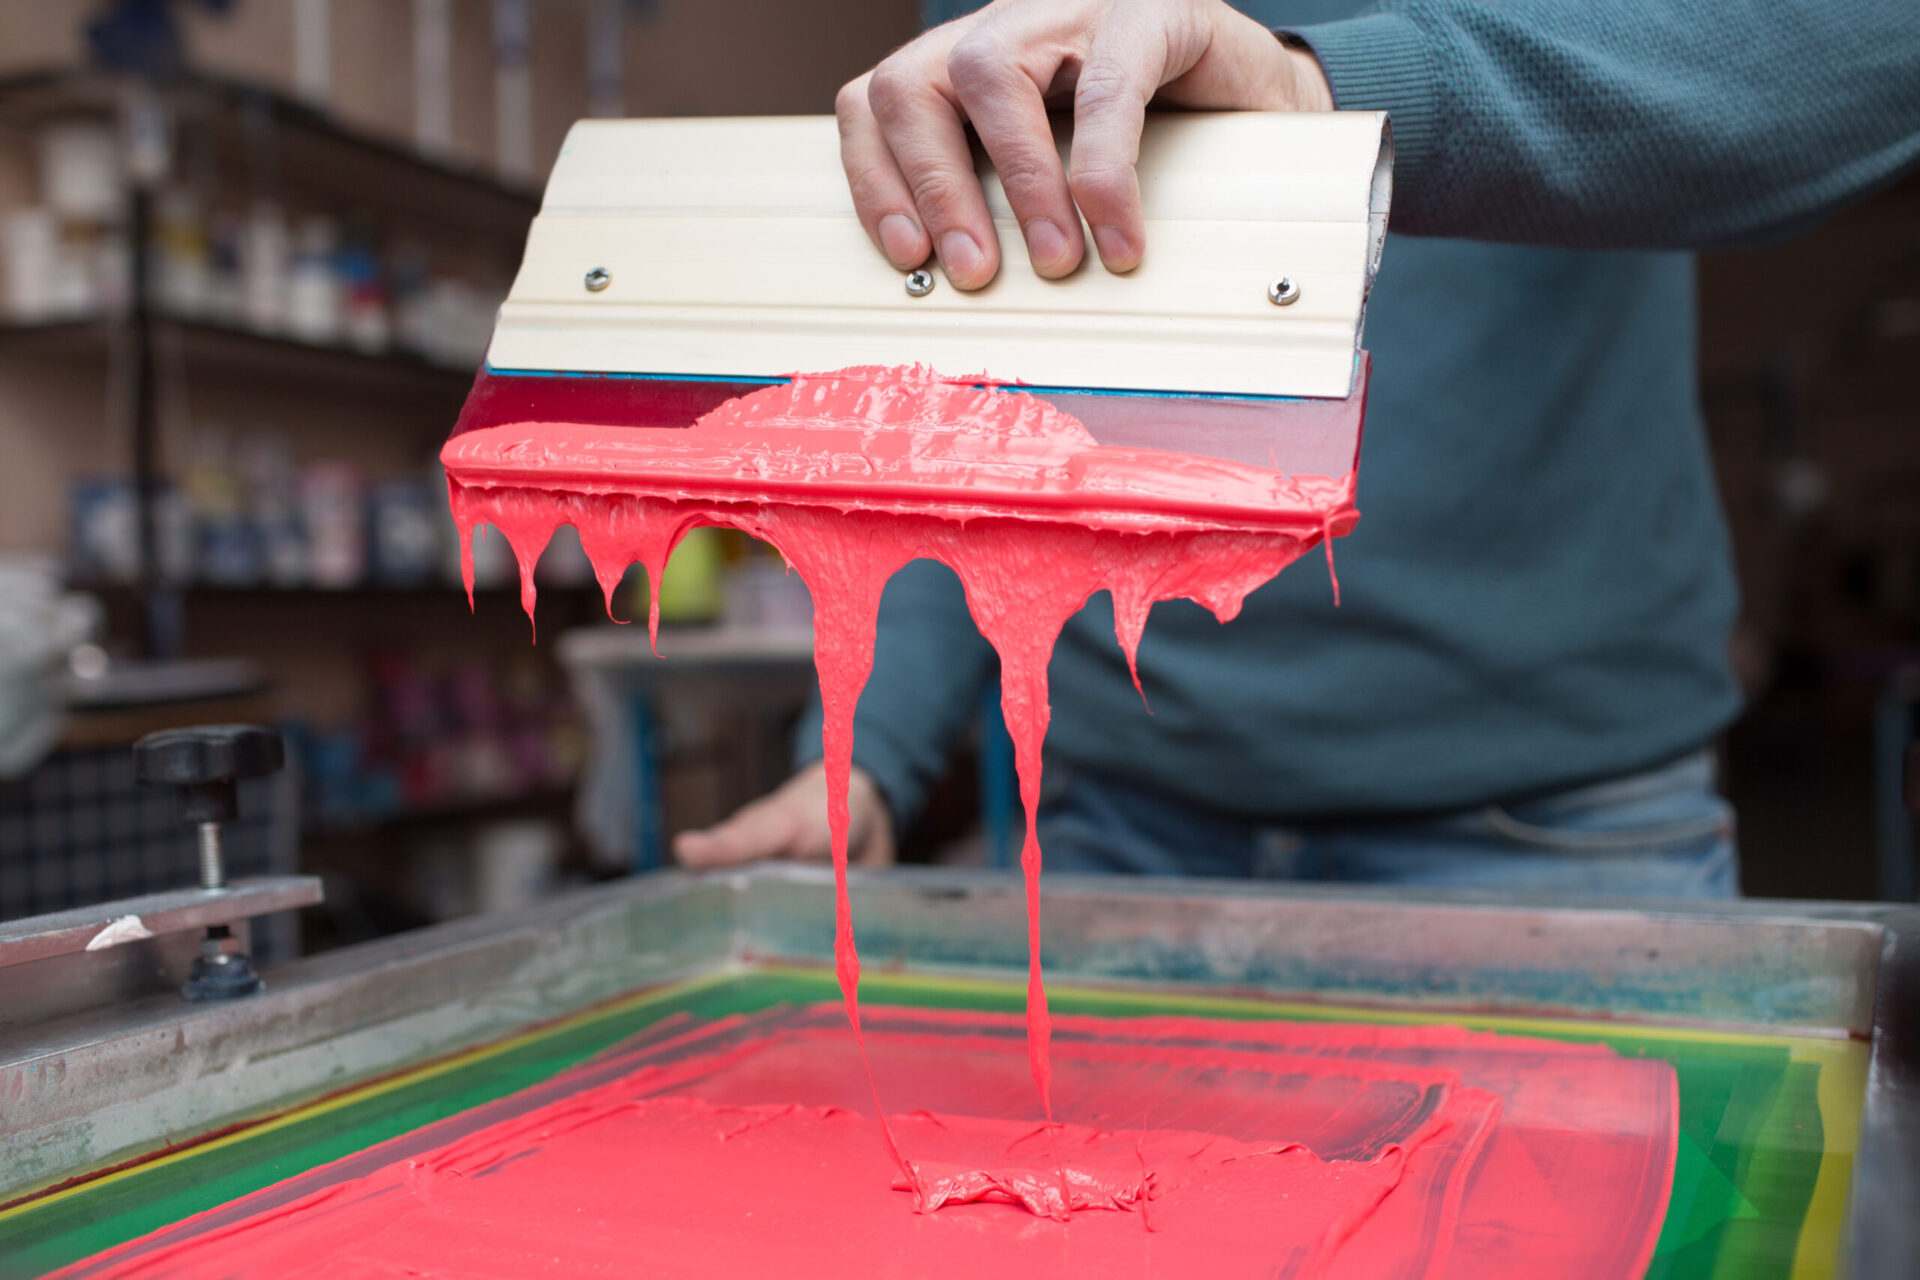
Now the design moves onto the material. A squeegee, which is a tool with a rubber blade, drags the ink across the screen. The printer spreads ink over the design, presses down, and pulls the blade across the mesh. That pressure forces ink through the open stencil and onto the shirt below. Because the screen stays fixed, the same print repeats again and again.
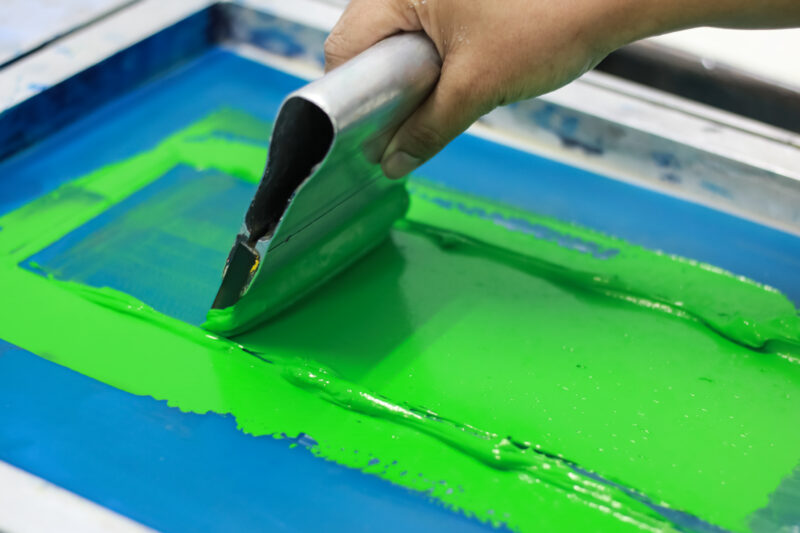
Hand pressing a silk screen, close-up view.
Step 7: Cure and Finish
Fresh ink is still wet and smears easily. The printed item comes off the press and gets dried. Some prints air dry. Most shops speed it up with a dryer or heat press. Plastisol ink cures at about 320°F (160°C). The heat bonds the ink to the fabric so the print holds up to washing. Once cured, the design is set and the piece is ready to wear, hang, or ship.
Advantages of Screen Printing
Started here asking “what is screen printing?” Here is why so many businesses and artists choose it.
First, it lasts. The ink layer is thicker than most other methods, so prints resist fading and hold color wash after wash.
Second, the color pops. Thick ink lays down bold, and designs look vivid on many surfaces.
Third, it is efficient in bulk. Once the screen is ready, a shop can run hundreds or thousands of identical prints fast, which drops the cost per piece. If you are weighing a big order, our guide to custom screen printing cost breaks down what changes the price.
Fourth, it is flexible. You can print on shirts, posters, promo items, and more, which is why the method stays popular in apparel, art, and manufacturing.
Screen Printing vs. Digital Printing
Screen printing and digital printing both put a design on a material, but they work in different ways.
Screen printing sends ink through a mesh stencil. Digital printing sprays the art straight onto the material, more like an inkjet printer. That gap shows up in the results.
Screen printing wins on bigger runs. Set up once, then print many pieces at steady quality. Digital printing suits small orders, since it needs almost no setup.
Color reads differently too. Screen printing gives stronger saturation and thicker ink. Digital handles fine gradients and photo-style images better. One is built for durability and bulk. The other is built for small or highly detailed jobs. For a closer look at inks, dyes, and stitching, see our comparison of screen printing vs. embroidery.
The 6 Main Types of Screen Printing
There is not just one way to screen print. Several techniques use the same basic idea but handle color and detail differently. Knowing them helps you pick the right one for a project. The number of colors in your art also drives cost, which we cover in how many colors you can screen print on a shirt.
1. Spot Color
This is the most common type. Each color in the design gets its own stencil and its own ink, used at full strength with no blending. The result is a solid, bold print. It is the go-to for logos on t-shirts, hoodies, jackets, and promo clothing.
2. Halftone
Halftone printing fakes shading with tiny dots of one ink color. Change the size and spacing of the dots, and from a distance they read as lighter or darker shades. You get depth from a single color, which keeps the cost down. It is popular for stylized art and graphic prints.
3. Grayscale
Grayscale prints an image in shades of gray using halftone dots. The dots vary in density to show light and dark areas. More dots mean more detail. The prints look black and white, but they carry many tones, so they reproduce photos and portraits with surprising detail. It is a budget-friendly option for shadow-heavy designs.
4. Duotone
Duotone builds on grayscale with two ink colors instead of one. A black halftone forms the base, then a second color adds a layer on top. The two together give a richer, more dimensional look. It resembles sepia photography and suits artistic or vintage-style prints.
5. CMYK (Four-Color Process)
CMYK is one of the most advanced types. It uses four inks, cyan, magenta, yellow, and black, each laid down as fine halftones. When the layers overlap, they build a full-color image. The alignment has to be exact, so shops run it on automated equipment. It is the choice for detailed, multi-color, or photo-style designs.
6. Simulated Process
Simulated process mixes CMYK with spot colors to hit realistic results. Instead of only four inks, the printer picks specific colors that match the art, then layers them with halftones for depth. It works on both light and dark garments, which trips up standard CMYK, and it is a favorite for photorealistic and complex prints.
Ready to put screen printing to work on your own gear?
The Logo Store handles high-quality custom screen printing for t-shirts, hoodies, and promotional apparel in Austin and San Antonio.
See our custom screen printing options and get a free quote.